
Hoop the stabilizer, then attach the item
Use a self-adhesive stabilizer when its type suits the project, or use a temporary fabric adhesive to hold the item on a separately hooped backing. Sulky describes Sticky+ as a self-adhesive tear-away for items that cannot be hooped or are too small; Odif's 505 instructions describe spraying the hooped stabilizer and attaching the fabric without hooping it.
This changes how the item is held. It does not choose the backing for you or guarantee that every fabric will stay flat.
Choose a method for the item
As an Amazon Associate we earn from qualifying purchases.
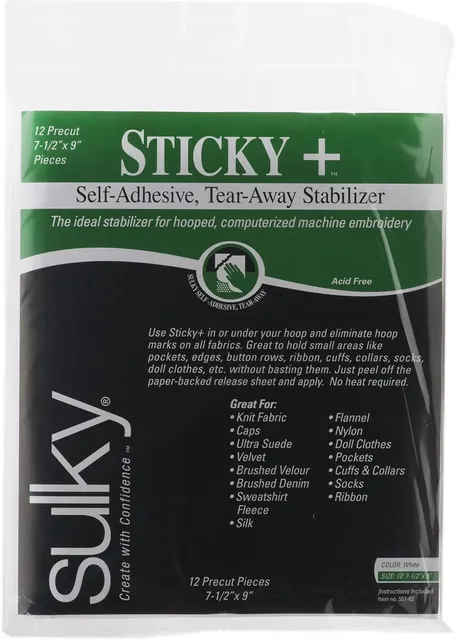
Self-adhesive option
Sulky Sticky+ 12-sheet, 7½ × 9 in precut tear-away stabilizer
A temporary tear-away stabilizer for items that are too small or awkward to hoop directly, according to Sulky.
Choose backing for the design and follow the removal directions.
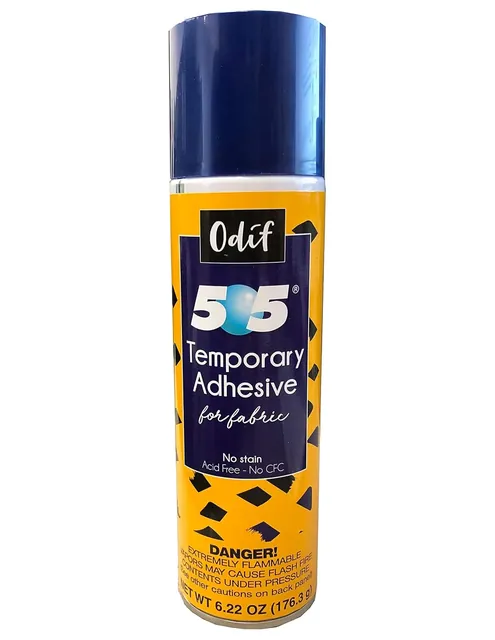
Spray adhesive option
Odif 505 temporary fabric adhesive spray
Odif describes 505 as a temporary adhesive for holding fabric during machine embroidery.
The aerosol is extremely flammable. Follow the product label precautions.
Set up a floated item
- Choose backing for the fabric and design. Use the machine manual and design instructions; the stabilizer guide explains backing and topping.
- Hoop the backing on its own. Follow the stabilizer instructions and leave enough exposed area to hold the item securely.
- Apply the temporary hold product as directed. For Odif 505, the manufacturer says to apply it to the hooped stabilizer, then attach the fabric without hooping the item. Protect the work surface and follow the label's safety precautions; the aerosol is extremely flammable.
- Place the item without stretching it. Smooth it over the backing and check that it stays clear of seams and the moving parts of the hoop and machine.
- Stitch and remove the backing as directed. Follow the design sequence and your machine instructions, then remove the stabilizer according to its label.
When is floating not enough?
If the item shifts, sags, or cannot clear the machine, stop and use a method allowed by the machine and design instructions. Temporary adhesive is a hold aid, not structural backing. Some projects need backing that stays with the item.
For fabric-specific backing and topping guidance, see the guide to knits, towels, and fleece. For sweatshirt and hoodie backing, see the sweatshirt setup guide.
For water-soluble stabilizer options, see the wash-away section of the stabilizer chart.
Common questions about floating embroidery
What is the difference between sticky tear-away and temporary spray?
Sticky tear-away has a self-adhesive surface and is removed as directed after stitching. Temporary spray holds fabric to a separately hooped stabilizer. Follow each product label.
Does floating replace embroidery backing?
No. Floating changes how the item is held. Backing still supports the stitches and should match the fabric and design.
Will floating always prevent hoop marks?
No method guarantees that. Floating avoids clamping the item directly, but handling, fabric, and the chosen adhesive can still affect the surface. Follow the product directions and check a scrap first.