Backing
Match support to the project.
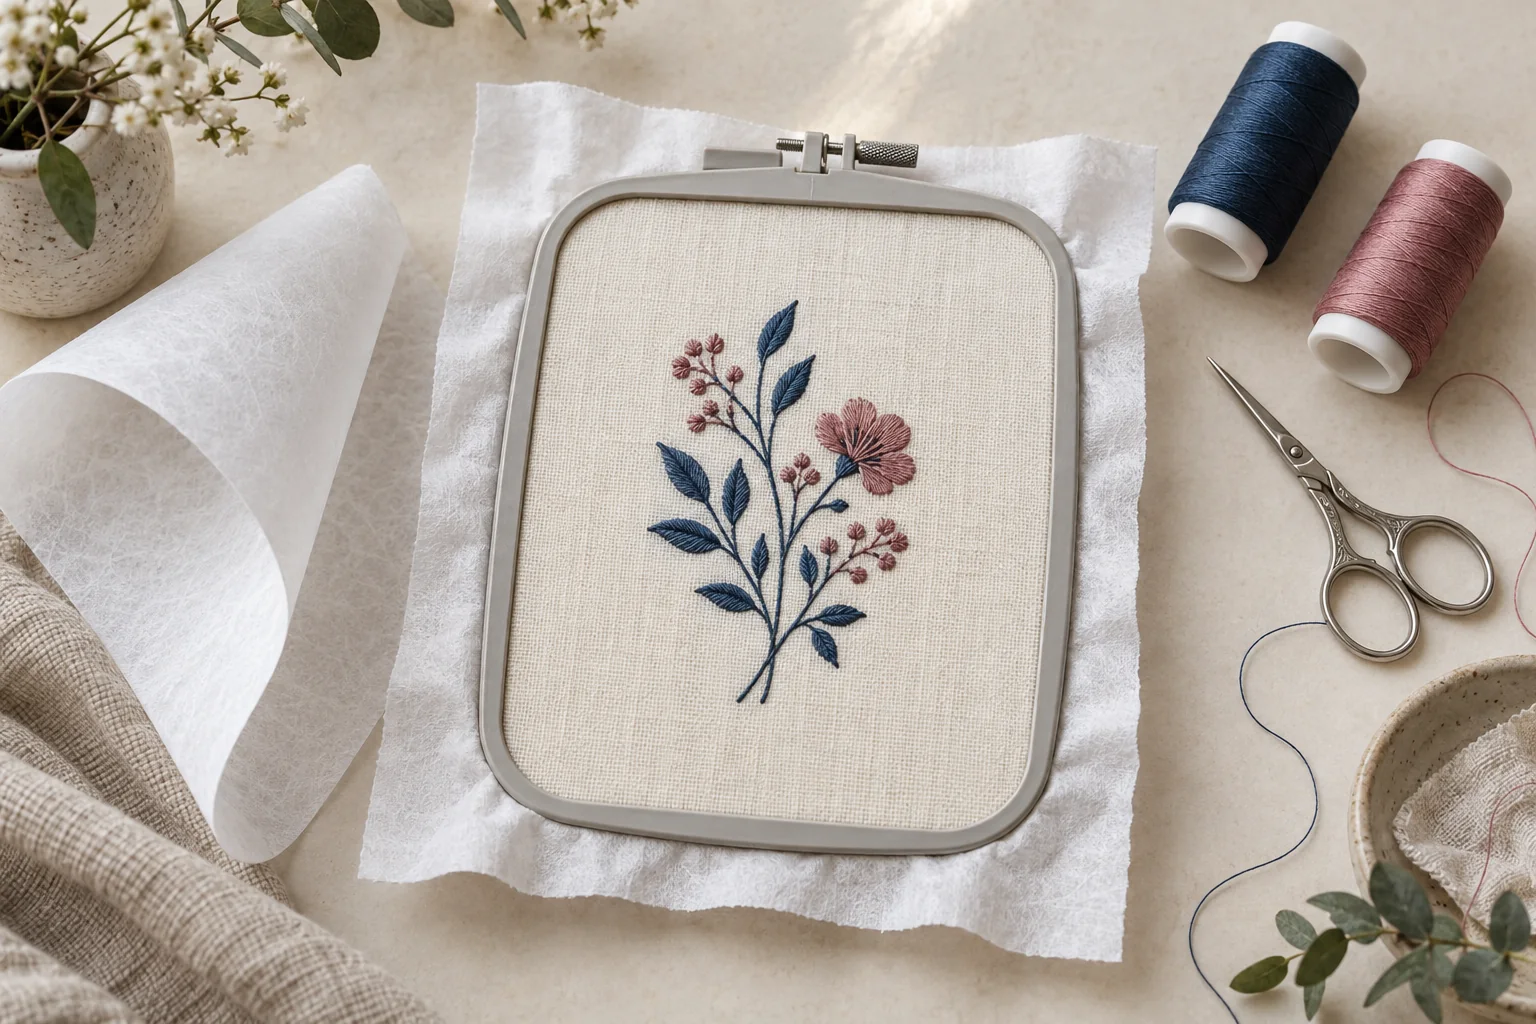
Backing sits beneath the fabric. Its type and removal method need to suit the fabric, design, and instructions for the project.
See the backing guide
Machine embroidery setup
Choose backing or topping for the fabric and design, check the cut size your hooping method needs, then compare Amazon supply options.
If the design or machine instructions specify a stabilizer, follow them. Use this site to compare the remaining material and package-size choices. Starting with a new machine? Review the first-project setup.
Common project questions
| Project | First question | Start here |
|---|---|---|
| Stable woven | What backing does the design and hooping method require? | Review the material choices |
| Knit or stretch | How much support does the fabric and stitch density need? | Read the knit guide |
| Towel or fleece | Do backing and any topping need to be considered separately? | Read the towel and fleece guide |
| Not sure | Can you name the fabric, its stretch, and the design demand? | Begin with the guide |
Backing, topping, and size
A roll can be the right size and still be the wrong material. Decide the project layers before the package size.
Backing
Backing sits beneath the fabric. Its type and removal method need to suit the fabric, design, and instructions for the project.
See the backing guideTopping
Topping and structural backing do different jobs. Check the exact water-soluble product and the project instructions before using it above the fabric.
Understand the layersCut size
Once the material is clear, measure the rectangle your method needs. Compare whole usable pieces, not only roll width or cost per square yard.
Use the roll worksheet