
Use sewable web on the patch, backing under the garment
Therm O Web labels HeatnBond Lite as a sewable, paper-backed iron-on adhesive and says the bonded fabric must be sewn for a permanent bond. HeatnBond UltraHold is a no-sew adhesive, so it is not a substitute when the design will sew through the patch.
Neither fusible web nor temporary spray replaces the stabilizer under the base fabric. Check the product directions and test on a fabric scrap, especially if the garment cannot be pressed.
Choose a sewable adhesive and a trimming tool
As an Amazon Associate we earn from qualifying purchases.
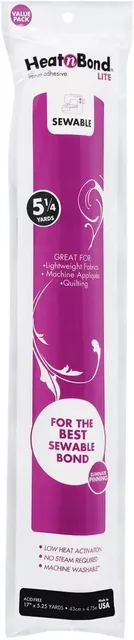
Sewable patch adhesive
HeatnBond Lite sewable iron-on adhesive value pack
The listing identifies HeatnBond Lite. Therm O Web describes this product line as sewable; follow the package directions for the fabric you use.
This bonds the patch fabric; it does not replace backing under the garment.
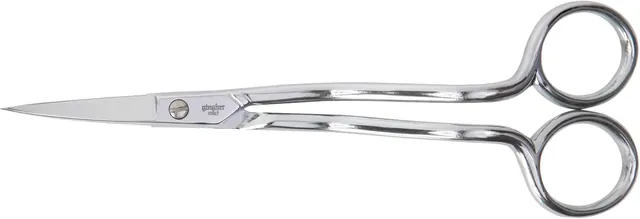
In-hoop trimming tool
Gingher 6-inch double-curved embroidery and appliqué scissors
The double-curve shape is designed to reach around an embroidery hoop or machinery, according to Gingher’s product page.
Follow the design trim line and keep the blades clear of the garment.
Gingher describes the double-curved scissor shape as reaching around an embroidery hoop or machinery. Use the design file for the trim line.
Follow the sequence in the design file
Files differ, so use their color stops and instructions as the authority. A common appliqué sequence includes a placement outline, a tack-down pass, trimming, and a final edge stitch; use only the steps included in your design.
- Prepare the patch. Follow the fusible web label, test on a scrap, and let the piece cool as directed before removing its paper liner.
- Stitch the placement step if the file includes one. Lay the prepared patch over the outline without stretching the base fabric.
- Run the tack-down step if the file includes one. Remove the hoop from the machine only as the manual permits; keep the fabric secured in the hoop while trimming.
- Trim the excess patch fabric. Use scissors you can control around the hoop. Keep the blades clear of the garment and stitches, then complete the remaining steps in the file.
Therm O Web's HeatnBond Lite directions cover fusing, removing the paper liner, and sewing the bonded fabric. Brother's machine manual governs how to remove and handle the hoop during a design.
Choose the backing underneath the garment
The patch adhesive is not structural backing. Choose under-hoop stabilizer for the base fabric and design, then remove or leave it according to its instructions. Use the stabilizer chart for material roles and the fabric guide for knits, towels, and fleece.
If you use a Brother machine, check the model-specific notes in the Brother lookup.
If the item is awkward to clamp in the hoop, see the guide to floating embroidery for temporary holding methods. If the file is freestanding lace instead of a fabric patch, see the freestanding lace setup guide.
Common questions about machine appliqué
Is HeatnBond Lite designed for machine stitching?
Yes. Therm O Web describes HeatnBond Lite as a sewable iron-on adhesive and says bonded fabric must be sewn for a permanent bond. Test the product and follow its current fabric and iron directions.
Can fusible web replace embroidery stabilizer?
No. Fusible web bonds the appliqué patch. Stabilizer goes under the base fabric and supports the embroidery; choose it for the fabric and design.
How close should I trim the patch?
Follow the design file and keep the scissors clear of the garment and tack-down stitches. There is no single trim distance for every design and fabric.
Why use double-curved scissors?
The manufacturer describes the double-curve shape as reaching around an embroidery hoop or machinery. It can help keep the blades near the fabric while you trim, but it does not set a universal trim distance.